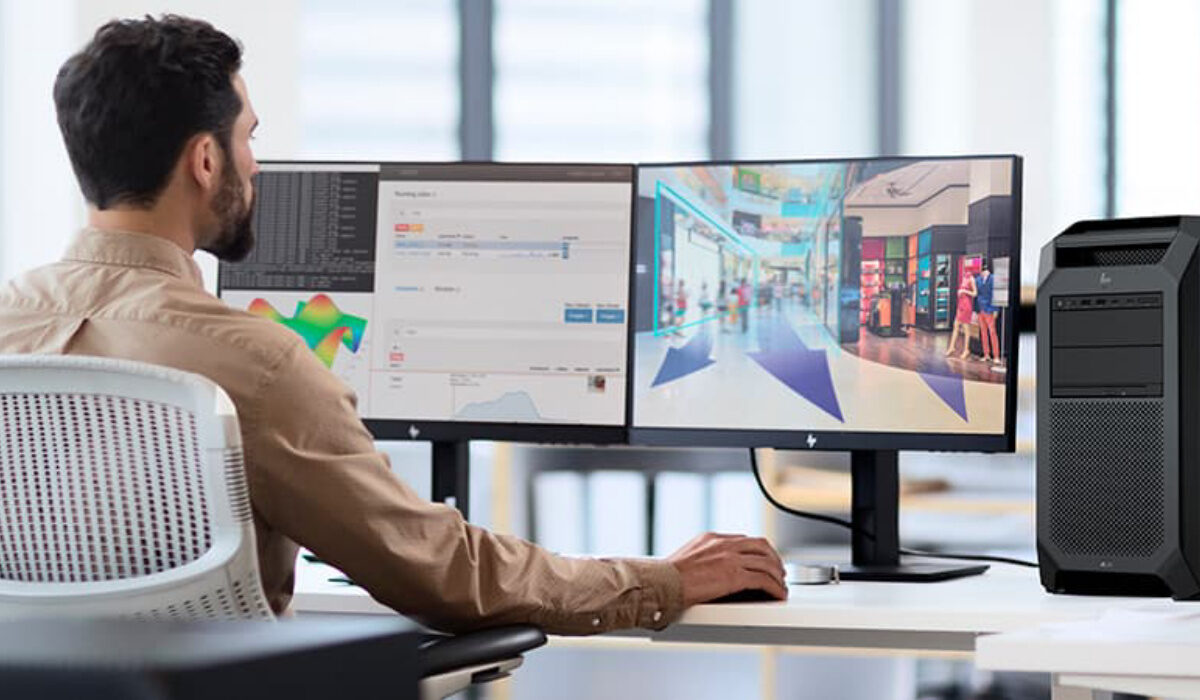
Since most computers only have one screen, very few individuals are familiar with how to build these innovative systems. This is why we have provided this guide to help you conveniently set up your dual monitor system with your Windows device in your workspace. We’re providing this guide on the assumption that you already have all your components (monitors, monitor stands, etc.) ready for the setup process. As you shop for the components you’ll need for your setup, keep in mind that you’ll need to conduct your research on some technical issues (especially device compatibility) that you need to be aware of. To make the process much easier, ensure that you already have all of your cords and tools close at hand. Find the perfect spot Finding the ideal spot for both screens is the first step in setting up your dual monitor system. You’ll need to be a little inventive and rearrange all the other components of your workspace till you’re happy with it because most workstations are not made to support two monitors. Remember that you can very easily purchase additional monitor stands to assist with this setup process. Plug in your Monitors Making sure to position all of your cables correctly is the next step. You can have different cable management systems to help you accomplish this and keep your workspace as organized as possible. Once everything is in position, plug all the cables into the appropriate outlets. However, before you do this, please check to ensure they are all securely connected to prevent power loss during your working or gaming sessions. You can now power on your gadget to check that everything is operating as it should. Set up your Monitors in Windows You can quickly set up a second monitor if you have a Windows device because all you need to do is locate the taskbar, which will walk you through the setup procedure. Only a few simple actions need to be taken to make sure everything goes as smoothly as possible. After confirming that your computer can see both monitors, you must access the desktop and locate the display settings. Then, a window with many controls will appear, allowing you to use your screens and select from a variety of display options. The following list includes some of the more popular display types:
The most typical sort of display simply designates each monitor with a one or a two, as appropriate, so that you always know which one you’re using.The multiple display option with which you can show one of the following displays:
Show identical pictures on both screensMake the image bigger and the two screens work as one.Use only one of the monitors.
Adjust the Positioning It’s time to use the box at the top of the window to move your monitors into position. This enables you to move your mouse between both monitors. As such, it is ideal if you arrange your monitors to match your display position because this will make it much more intuitive for you and cut down on the learning curve. Note that you can drag the boxes to reposition them whenever you’d like until you reach a position that feels natural. Determine your Primary Monitor The final display setting is to choose a default monitor to serve as the main screen on which all programs will be shown. It will also include all of your gadgets, including your clock and other taskbar icons. By combining dual-monitor choices with your standard monitor settings, you can still use one monitor. To meet your preferred visual experience, each monitor can have various resolutions and general settings. If you don’t have a Windows device… You can set up your two-monitor laptop system with alternative third-party software if you don’t have a Windows device. The most popular methods for doing this use graphic card providers and apps of a similar nature. These will let you put different settings on your monitors to make sure they’re functioning properly. Finally, it is good for you to know that dual-monitor configurations may also be installed on iOS, Android, macOS, and Linux devices, because we are aware that not everyone uses Windows-based computers. Additionally, these operating systems have quite similar installation procedures, although the specifics will typically vary based on the device you’re using. We’re sure you’ll find this article very helpful, so don’t hesitate to recommend it to your friends, family, and colleagues.
Don’t miss our reviews.Follow our news on Google News.Join our WhatsApp Group, to be notified of the most important articles and deals,Follow us on Instagram, Facebook, Twitter, and YouTube.
